As a photographer I really find it useful to see my own work daily, as a way of reminding me what I can do better or what I do well – some might call this narcissistic but for me it makes me proud of what I create.
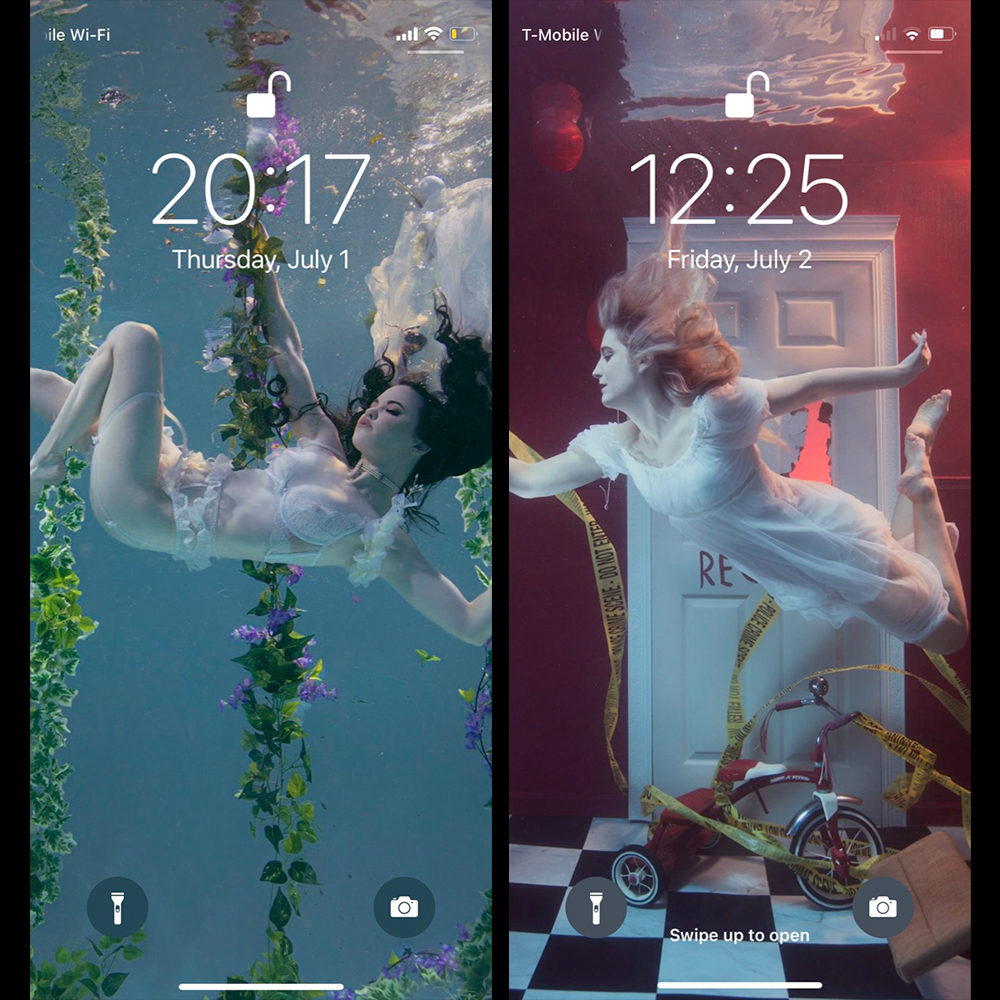
I also like seeing my shots as iphone wallpapers as it’s a very different crop than what I’m used to and it’s great to see things in different formats – it’s also the perfect way to advertise your work to prospective clients, whether its from them seeing the shot over your shoulder or just as a really quick way to say “oh this is what I do!”.
So every now and then I’d set one of my photos as my Lock Screen but what I really wanted was an automated way for it to do it randomly for me, so that I never knew what I was going to see on my screen each day. Strangely Apple don’t have this function on their phones so I had to use their “Shortcuts” App that comes with the iOS, making automation really easy.
If you’d like to set up the “Automatic Random Wallpaper Changer” shortcut on your iPhone, follow the instructions below:
Install Wallpaper Changer Shortcut
- On your iPhone, download the Automatic Random Wallpaper Changer Shortcut
- Once it’s downloaded hit “Add Untrusted Shortcut”
- Click My Shortcuts and click the shortcut you just installed.
- If it asks for access to your photos hit Allow.
- Change “Album is” to the album you want to grab photos from.
- If you want the Home Screen to update too, click “Lock Screen” and make sure both are ticked.
- click done.
- Now you can run this Shortcut to change the wallpaper automatically. If you want it to run at a certain time each day, do this:
- Click the Automation screen and hit + to add a new one.
- Hit Create a New Personal Automation.
- Choose “Time of Day”, I then chose Sunrise and hit Next
- Click Add Action
- Type in Shortcuts and select that icon when it appears
- Click Run Shortcut
- Tap the word “Shortcut” and click the script you downloaded
- Click next – Uncheck “Ask Before” and hit Done. That’s it!